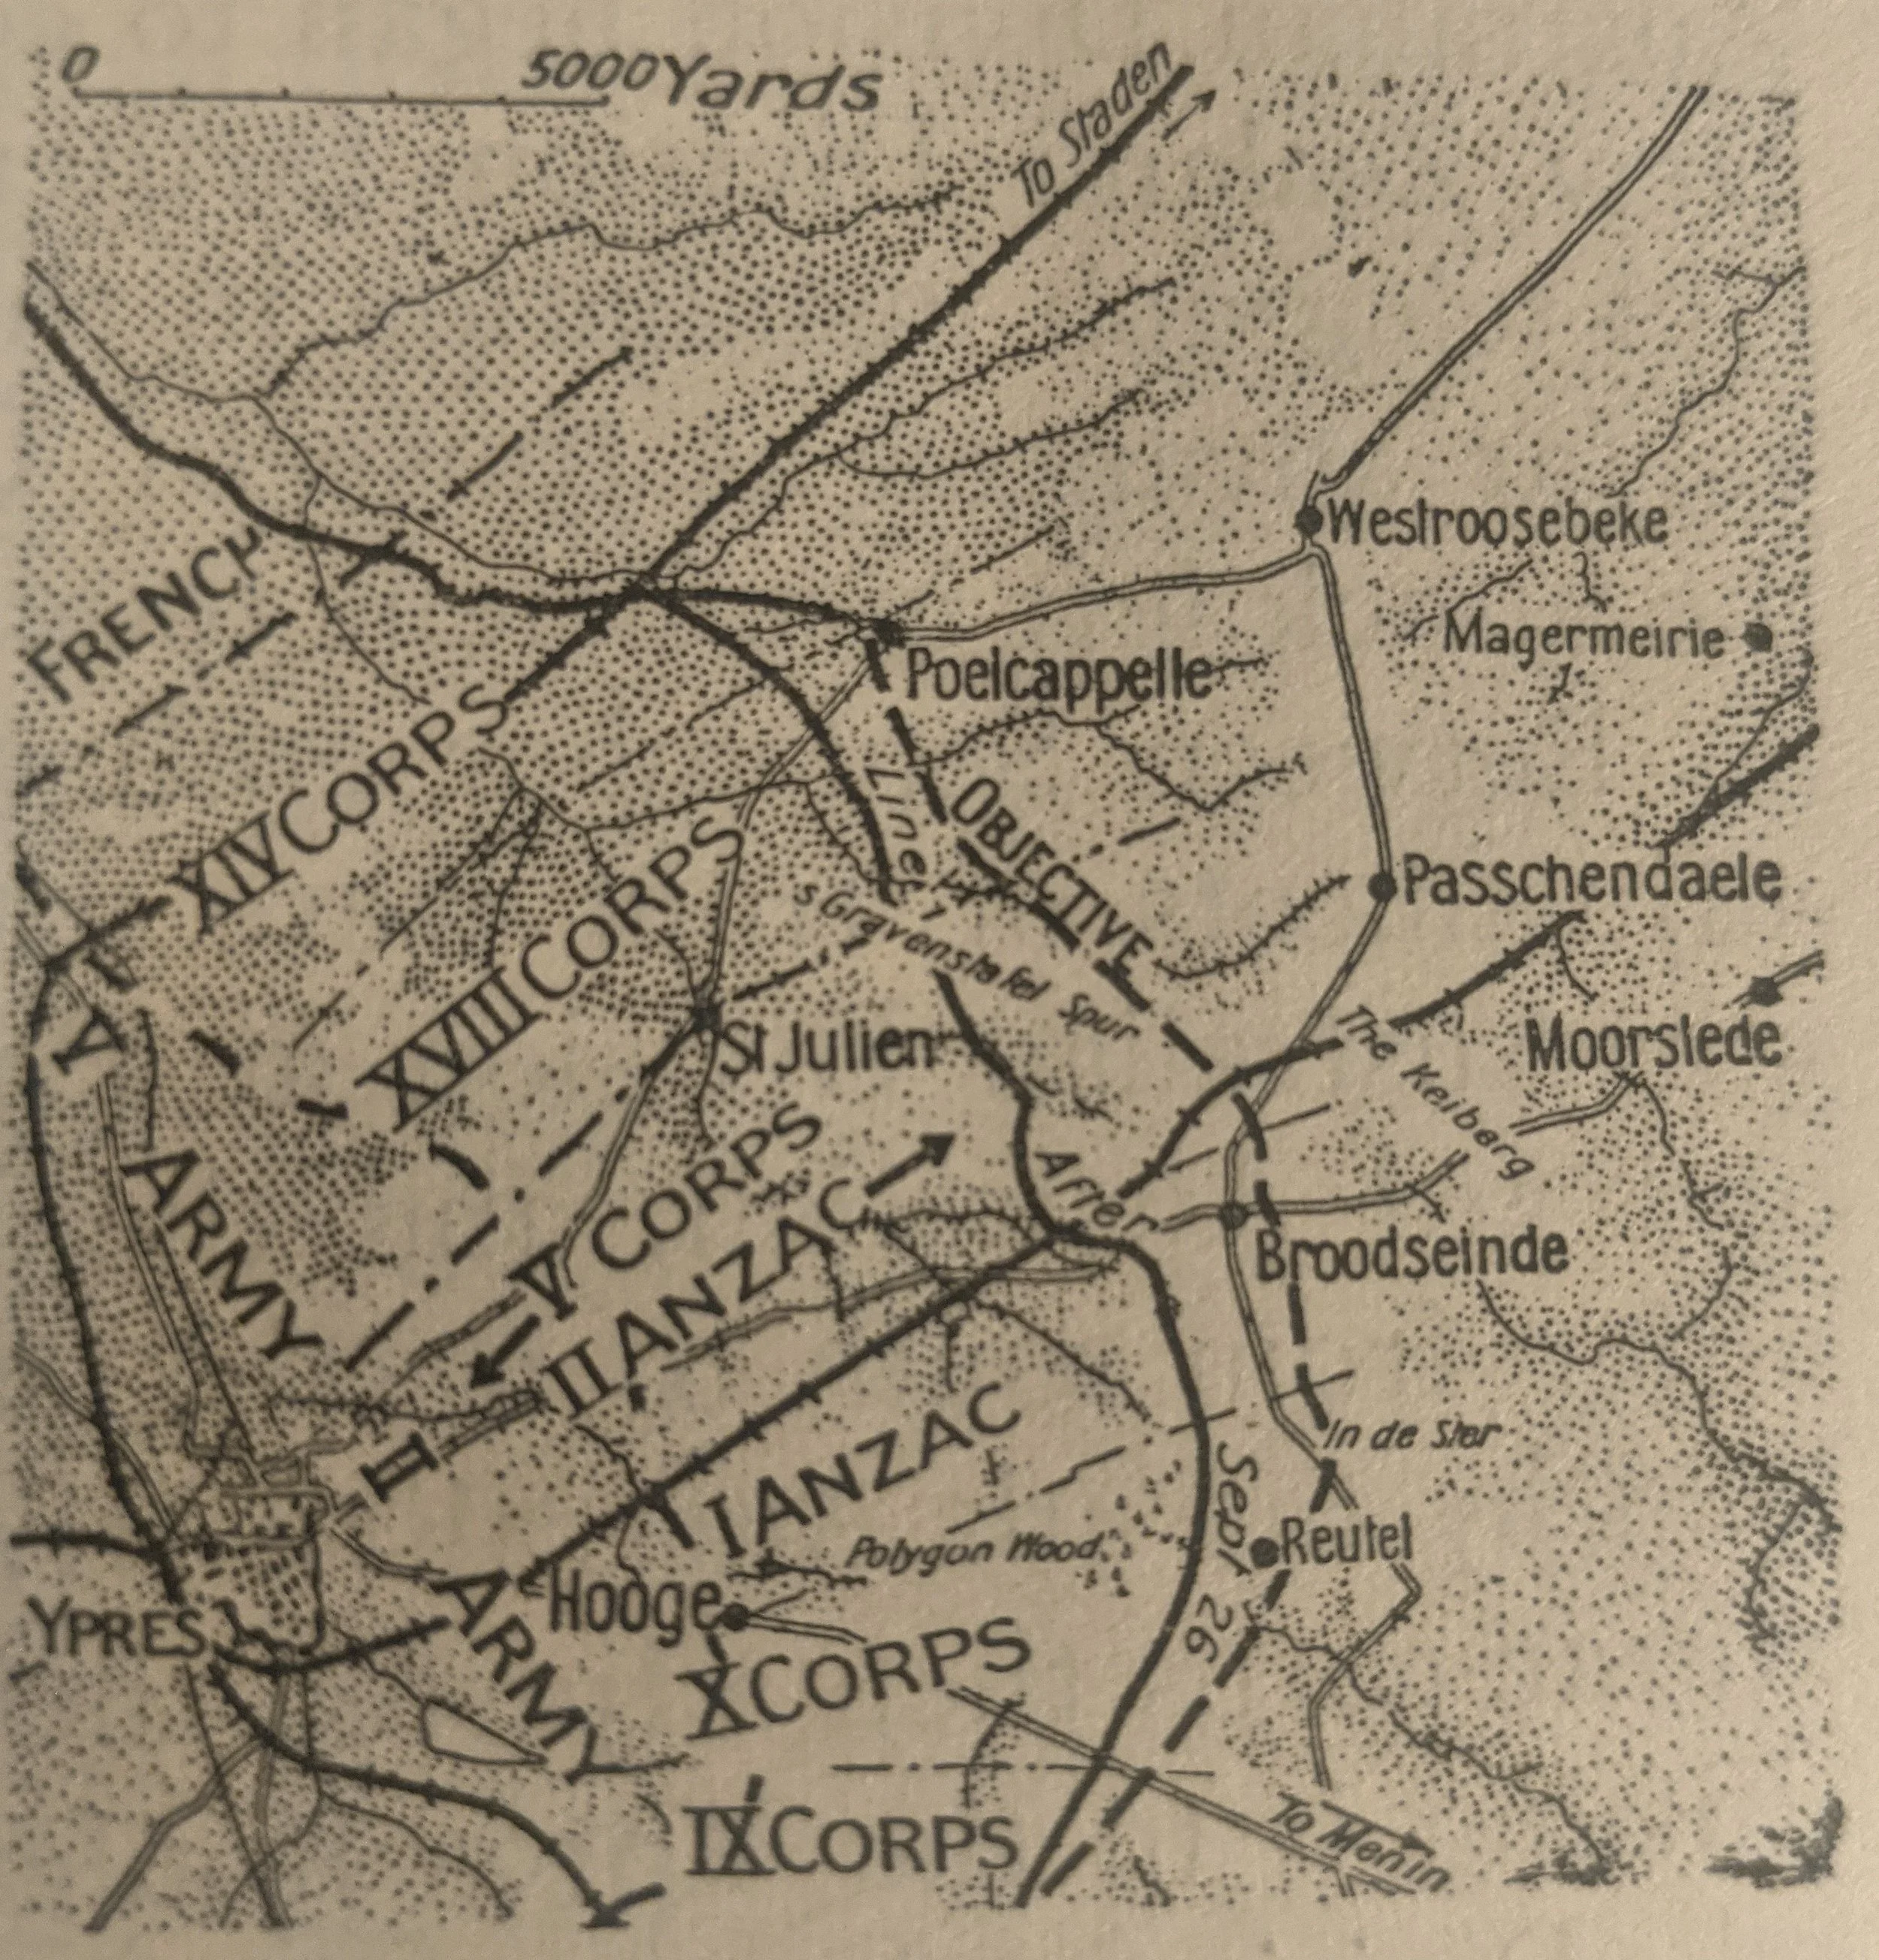
Broodseinde Ridge
Two Australian Corps fight side by side for the first time.

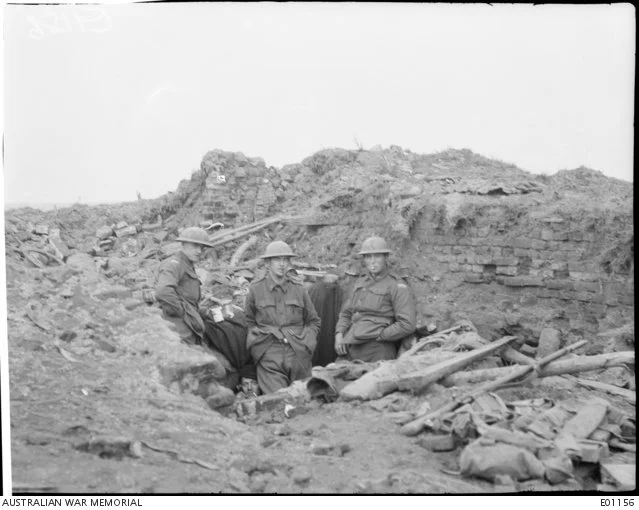
German shelling on Broodseinde Ridge
On the backs of the victories of Menin Road and Polygon Wood, the 1st Anzac Corps pushed on towards the dominating feature of Broodseinde Ridge. This time though, they would have the men of the 2nd Anzac Corps fighting alongside them. The Battle would see the Allied troops looking down upon green pastures for the first time in three years, bringing hope that the war may soon be over.