Buna-Gona-Sanananda Part 3
The Final Push

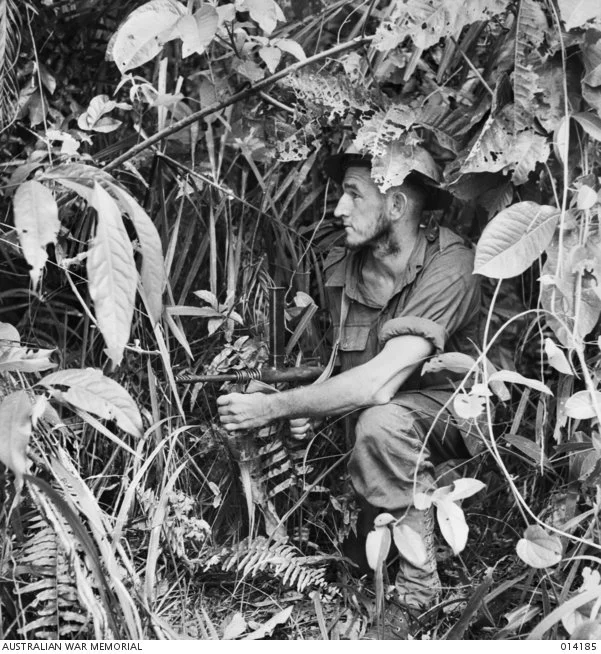
Troops advancing at Giropa Point.
After weeks of heavy fighting, only Gona had been successfully wrenched from the Japanese forces. The Australian 21st and 25th Brigades were worn out, and in front of Buna, the Americans were going nowhere. General Blamey had one more Brigade left to throw into the fight, the 18th Brigade. But their battalions were scattered between Milne Bay and the surrounding islands. Eventually they would be bought into the fighting at Buna, where the Japanese had been holding off every attempt by the US 32 Division. If this Brigade was also worn out, then the campaign to evict the Japanese from New Guinea would come to a grinding halt.