The Fall of Rabaul Part 2
Evasion, Massacre and Escape

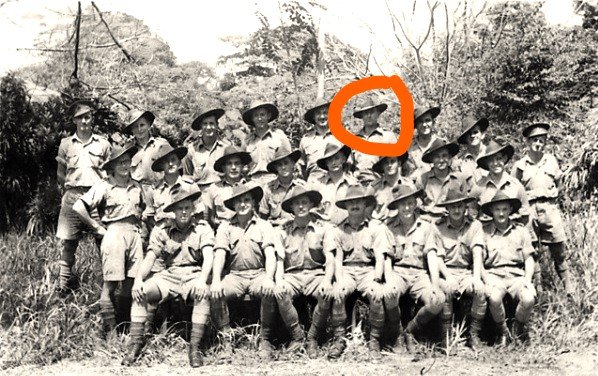
The terrain the men of Lark Force had to contend with while evading the Japanese after the fall of Rabaul.
With the port town of Rabaul captured by the Japanese, the men of Lark Force began their retreat. Two main escape routes developed, one to the north and the other to the south. All of the survivors experienced hardships over the coming weeks. Those who went north and came under the energetic leadership of Lt Appel were the lucky ones, being evacuated after only a few weeks. Those who headed south faced a much tougher trek, with some destined to fall victim to Japanese atrocities at the Tol Plantation.