Warwick O'Neill 3/22/23 Warwick O'Neill 3/22/23 The RAAF in Vietnam 9 Squadron Iroquios Read More Warwick O'Neill 3/1/23 Warwick O'Neill 3/1/23 The Battle of Kapyong Valley Part 2 The Australian positions at Kapyong Read More Warwick O'Neill 2/8/23 Warwick O'Neill 2/8/23 The Battle of Kapyong Valley Part 1 The Australian positions at Kapyong Read More Warwick O'Neill 12/7/22 Warwick O'Neill 12/7/22 Reg Saunders Sergeant Reg Saunders. Read More Warwick O'Neill 11/16/22 Warwick O'Neill 11/16/22 Buna-Gona-Sanananda Part 3 A mortar crew in action at Gona. Read More Warwick O'Neill 10/26/22 Warwick O'Neill 10/26/22 Buna-Gona-Sanananda Part 2 A mortar crew in action at Gona. Read More Warwick O'Neill 10/5/22 Warwick O'Neill 10/5/22 Buna-Gona-Sanananda Part 1 A Japanese bunker on the Sanananda Track Read More Warwick O'Neill 9/14/22 Warwick O'Neill 9/14/22 Long Tan - Part 2 Read More Warwick O'Neill 8/24/22 Warwick O'Neill 8/24/22 Long Tan - Part 1 Read More Warwick O'Neill 8/3/22 Warwick O'Neill 8/3/22 Broodseinde Ridge Read More Warwick O'Neill 7/13/22 Warwick O'Neill 7/13/22 Polygon Wood Read More Warwick O'Neill 6/22/22 Warwick O'Neill 6/22/22 Menin Road Read More Warwick O'Neill 6/1/22 Warwick O'Neill 6/1/22 Ruin Ridge Read More Warwick O'Neill 5/11/22 Warwick O'Neill 5/11/22 The Lae - Salamaua Campaign Read More Warwick O'Neill 4/20/22 Warwick O'Neill 4/20/22 Battle of the Apple Orchard and Pakchon Read More Warwick O'Neill 3/30/22 Warwick O'Neill 3/30/22 No. 3 Squadron RAAF Read More Warwick O'Neill 3/16/22 Warwick O'Neill 3/16/22 Isurava to Ioribaiwa Read More Warwick O'Neill 2/16/22 Warwick O'Neill 2/16/22 Isurava to Ioribaiwa Read More Warwick O'Neill 2/15/22 Warwick O'Neill 2/15/22 Nurses Part 2 Read More Warwick O'Neill 11/29/21 Warwick O'Neill 11/29/21 Thomas Blamey - Australia’s Only Field Marshal. Read More Newer Posts Older Posts
Warwick O'Neill 3/1/23 Warwick O'Neill 3/1/23 The Battle of Kapyong Valley Part 2 The Australian positions at Kapyong Read More
Warwick O'Neill 2/8/23 Warwick O'Neill 2/8/23 The Battle of Kapyong Valley Part 1 The Australian positions at Kapyong Read More
Warwick O'Neill 11/16/22 Warwick O'Neill 11/16/22 Buna-Gona-Sanananda Part 3 A mortar crew in action at Gona. Read More
Warwick O'Neill 10/26/22 Warwick O'Neill 10/26/22 Buna-Gona-Sanananda Part 2 A mortar crew in action at Gona. Read More
Warwick O'Neill 10/5/22 Warwick O'Neill 10/5/22 Buna-Gona-Sanananda Part 1 A Japanese bunker on the Sanananda Track Read More
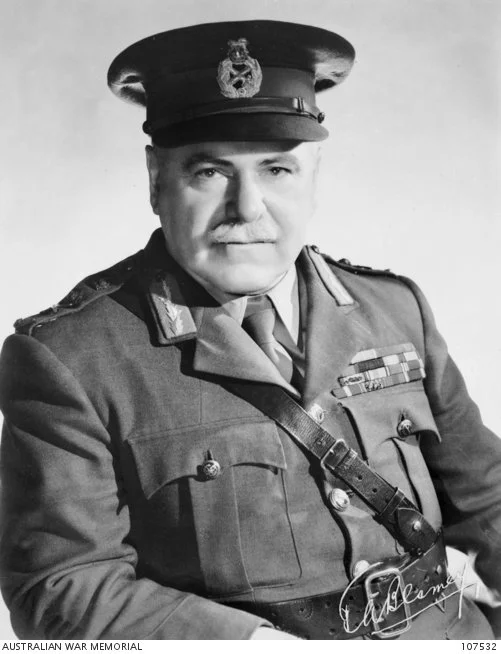
Warwick O'Neill 11/29/21 Warwick O'Neill 11/29/21 Thomas Blamey - Australia’s Only Field Marshal. Read More